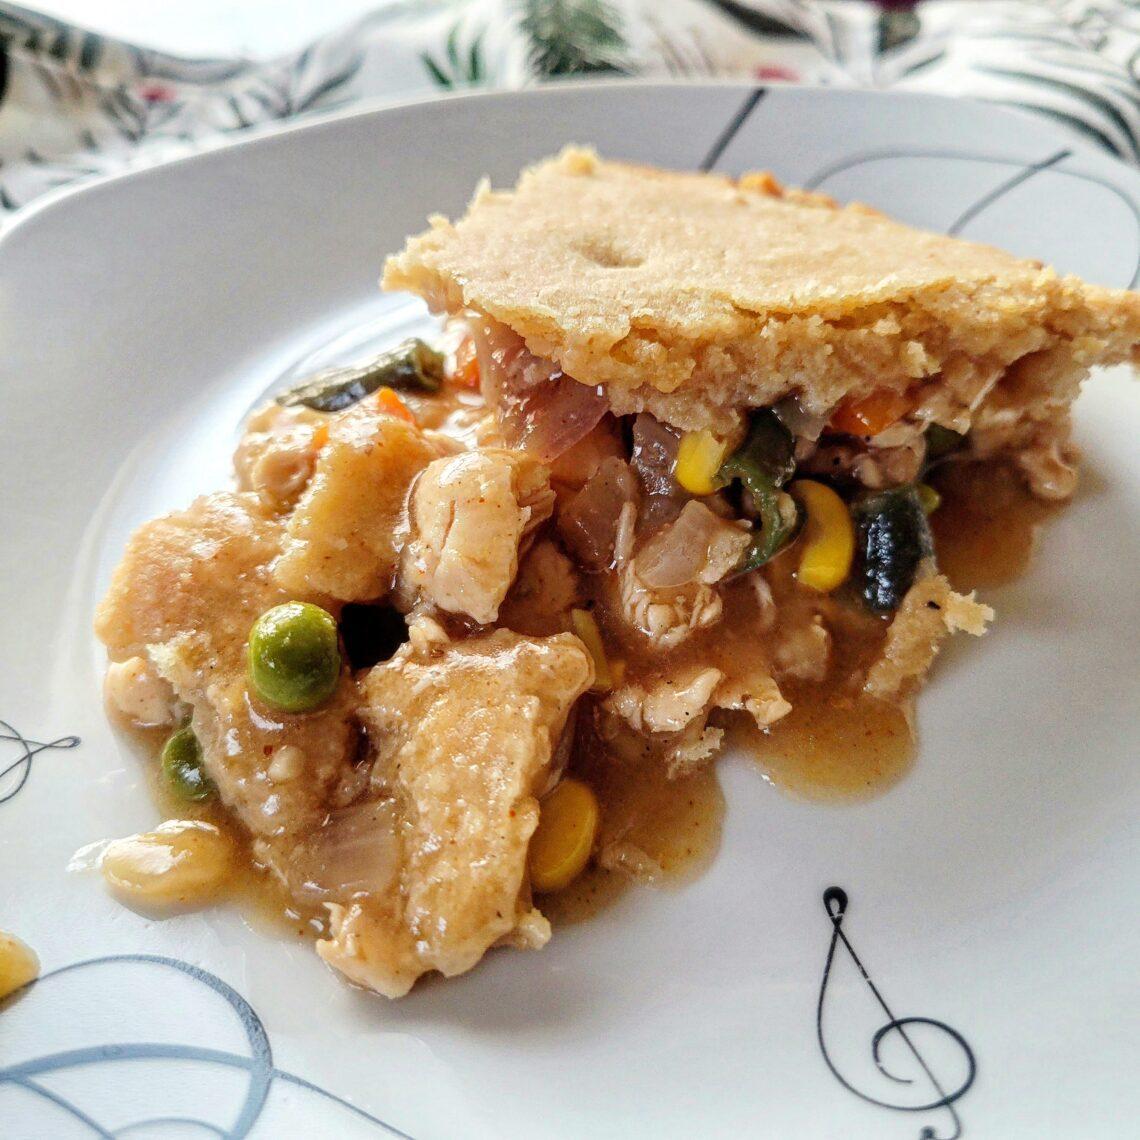
If you are looking for a gluten and dairy-free chicken pot pie recipe that is delicious and quick, look no further. This recipe is made using gluten-free pie crust and frozen veggies. This recipe is an allergy, kid, adult, grandparent, neighbor, and in-law friendly and approved! Everyone will love this classic chicken pot pie!
[ctct form=”13826″ show_title=”false”]

GLUTEN-FREE CHICKEN POT PIE
This recipe is easily one of our favorites. I mean, who doesn’t love chicken pot pie? Especially one that is allergy-friendly and free from gluten, dairy, and eggs?!
We are huge fans of Wholly Gluten Free and frequently use their pie crust and pizza dough at our house. Their products allow for the creation of delicious sweet, and savory dishes.
The pie crust never fails us. It’s buttery, flaky, and perfect in every way. It’s our go-to when making joke pies. For this recipe, we used their gluten-free pie crust!
Read the full recipe and click here for the Wholly Gluten Free shop locator.
GLUTEN-FREE CHICKEN POT mini PIE INGREDIENTS
- One package of Gluten-free pie crust (comes with two pie crusts)
- Chicken breasts
- Red onion
- Frozen bag of peas, green beans, corn, and carrot (use whatever you wish)
- Chicken bone broth
- Plant-based butter
- Gluten-free flour
- Seasoning mix* (see recipe)
HOW TO PREPARE A GLUTEN-FREE CHICKEN POT PIE
Preheat over to 425 Degrees.
Prepare Chicken
Chop chicken breast into small chunks. Add chicken to a medium-sized skillet, season with salt and pepper, and cook until no longer pink. (internal temp 165 degrees F)
Prepare Veggies
I prefer to use Birds Eye Steamfresh frozen mixed vegetables for my pot pie recipes. I’ve become skilled at placing these bags in the microwave for 7 minutes and walking away. Once done, I drain them and toss them into the skillet with the chicken.
Prepare Roux
In a medium pot, melt butter. Once melted, add and cook the red onions until soft. Slowly whisk in gluten-free flour until thick. Add chicken broth, water, and seasoning to the flour mixture and stir until smooth. Once the mixture is smooth, taste it to determine if more salt is needed.
Prepare Crust & Assemble
As mentioned, the pie crust comes with two shells in each package. I like to take my pie crust out of the freezer and move it to the fridge the night before. I remove the crust from the refrigerator with the rest of the ingredients. When I get to the last step of assembling the pie, the crust is firm enough to manipulate.
Remove the dough from one of the pie shells with clean, dry hands. This will be the top crust. It can be very sticky, so I suggest placing the dough onto a floured piece of parchment as you remove it from the pie pan. The flour will help it take shape. Roll the crust into a ball and place another piece of parchment on top. Roll out the crust until it is flat and large enough to cover the surface area of the pie.
Once flat, slowly and carefully remove the top layer of parchment from the dough and flip it on top of the pie shell with the filling.
Pinch the edges of the dough to seal the pie.
Using a toothpick, poke a few holes in the top of the pie crust to allow steam to escape during the baking process.
Optional: Brush the top of the crust with melted butter and sprinkle with a bit of pink sea salt. (I’m fancy, lol)
CAN AP FLOUR BE USED IN PLACE OF GLUTEN-FREE FLOUR?
All-purpose flour can be substituted into every single recipe on my website. As I use 1-to-1 gluten-free flour, no measuring adjustments need to be made. You may want to add 1/2 cup more water or broth to the flour mixture during cooking. We like a balanced pie. One that has the perfect ratio of roux, veggies, and chicken.
CAN YOU USE FRESH VEGETABLES INSTEAD OF FROZEN ONES?
Yes. It will add a few extra minutes to the recipe but not much. Add the butter to a large skillet over medium heat. Once the butter is melted, add the chicken, carrots, green peas, onions, and salt and pepper. Cook for 8-10 minutes, until the chicken, is cooked, stirring often.
I hope you enjoy this gluten-free chicken pot pie recipe as much as we do. I’d love to hear your feedback! If you happen to make this recipe, please tag me on social media @blackallergymama. I’d love to highlight your work and give you credit!
Here are a couple of other recipes that you may enjoy below!
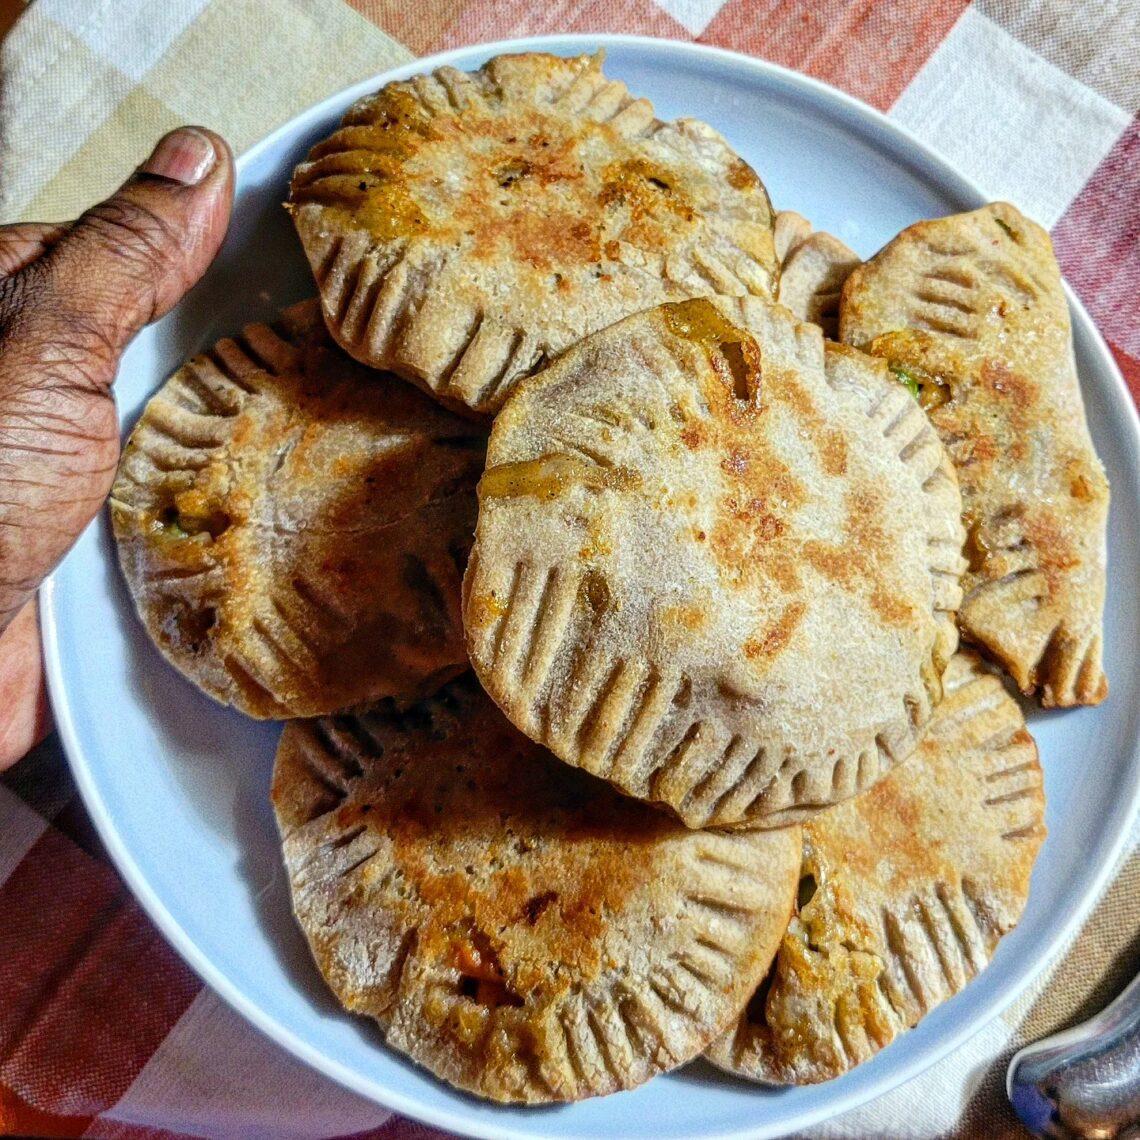
Chicken Pot Mini Pies {Gluten, Dairy-Free}
Chicken Pot Pie {gluten and dairy-free}
Ingredients
- 1 package Wholly Gluten Free pie crust (2) crusts included in each pack
- 1 cup Chopped Chicken Breast
- 1/4 cup chopped red onion
- 1 cup mixed veggies
- 1 cup chicken (or veggie) bone broth
- 1/4 Cup Gluten-free flour
- 2/3 cup water
- 1/3 cup plant-based butter
- 1/2 tsp salt
- 1/4 tsp pepper
- 1 tsp poultry seasonin
- 1 tsp garlic powder
- 1 tsp smoked paprika
- 1 tsp onion powder
- 1/2 tsp celery seed
- 1/2 tsp chili powder
Instructions
- Preheat Over ton 425°F
Prepare Chicken
- In a medium-sized pan add chopped chicken and salt and pepper. Cook chicken until no longer pink (165° F Internal temp). set aside.
Prepare Vegetables
- Prepare veggies y following the microwave instructions on the back of the bag. Once the vegetables have cooked. Drain and add to the pan with the cooked chicken.
Prepare Roux (Gluten-free flour mixture)
- In a medium sauce pot melt the plant-based butter on medium heat.
- Add chopped red onion to plant-based butter and cook until soft.
- Slowly whisk gluten-free flour into the butter mixture. It will be very thick.
- Slowly pour the broth and water into the flour mixture and whisk until smooth.
- Reduce heat and add the seasoning mixture to the roux.
- Allow the mixture to simmer for 5 minutes. Taste your mixture and add more salt if needed.
- Remove from heat. Set aside.
Prepare Crust & Assemble
- Remove the dough from one of the pie shells with clean, dry hands. This will be the top crust. It can be very sticky, so I suggest placing the dough onto a floured piece of parchment as you remove it from the pie pan. The flour will help it take shape. Roll the crust into a ball and place another piece of parchment on top. Roll out the crust until it is flat and large enough to cover the surface area of the pie.
- Once flat, slowly and carefully remove the top layer of parchment from the dough and flip it on top of the pie shell with the filling.
- Pinch the edges of the dough to seal the pie.
- Using a toothpick, poke a few holes in the top of the pie crust to allow steam to escape during the baking process.
- Optional: Brush the top of the crust with melted butter and sprinkle with a bit of pink sea salt. (I'm fancy, lol)
- Bake for 20 minutes at 425 degrees.
